Migrate to the Dashboard
We are rolling out the Paxos Dashboard to more institutional account holders! When you see a banner invite in the Wallet UI, your organization is eligible to start using the Dashboard.
Use the Wallet UI.
Migrating to the Dashboard takes a few minutes, and requires verifying your email address and creating a passkey.
Start by contacting your IT organization. Your company may already have policies for using passkeys and can provide support when creating and using a passkey.
We recommend saving and using passkeys with iCloud Keychain, Windows Hello, Google Account, 1Password, Proton Pass or other third-party password manager that enables passkey synchronization across devices.
Learn more about using passkeys on the Paxos platform or try the passkey demo on https://passkey.org.
Until your organization is ready to switch, all balances and transactions are available in both the Dashboard and the Wallet UI.
➊ Sign In to the Wallet UI
Go to https://account.paxos.com/login and sign in to the Wallet UI. Do not create a new Dashboard account. Watch the demo →
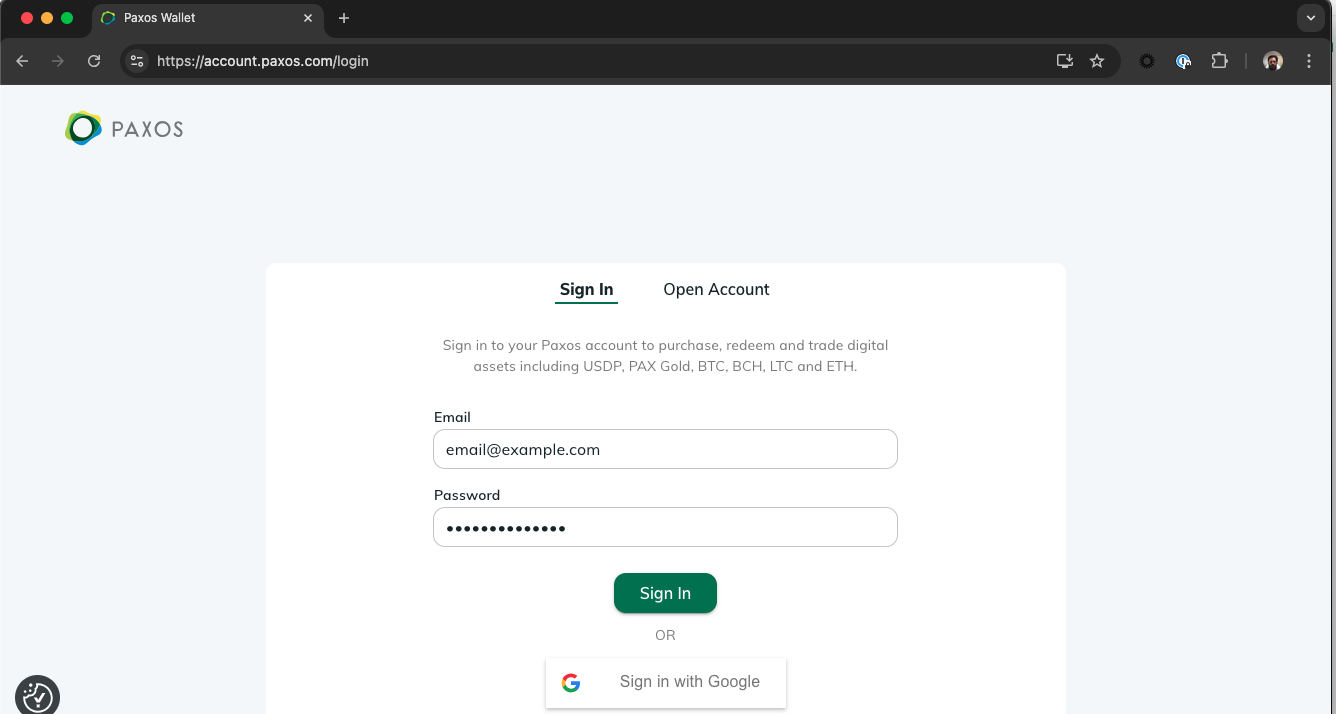
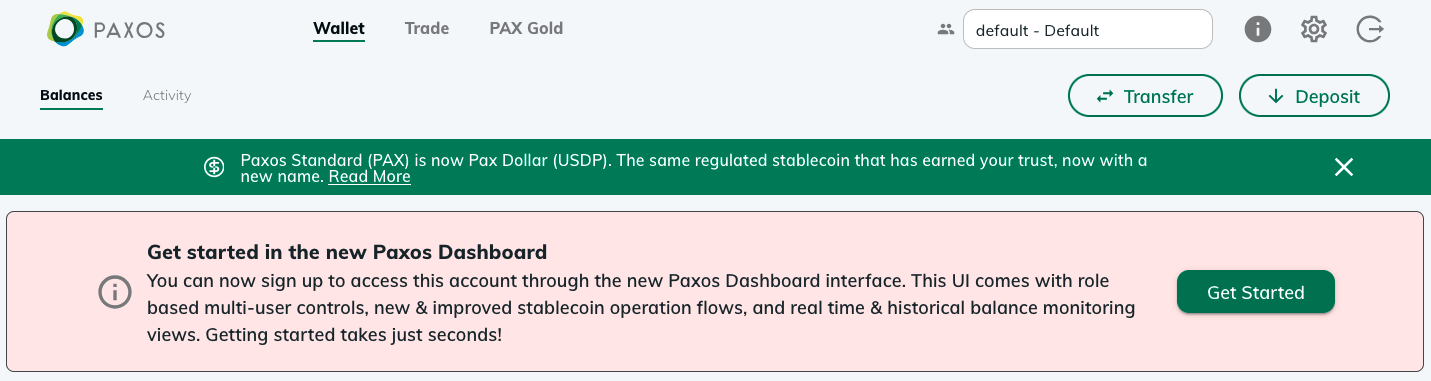
➋ Start the Dashboard Migration Process
Go to https://account.paxos.com/wallet and select Get Started in the welcome banner then review and accept the Terms & Conditions and Pricing on the next screen. Watch the demo →
Don't see the Dashboard invite? Some institutional account holders may need to provide additional information before accessing the Dashboard. Contact Support to get started.
➌ Verify your Email Address
After you accept the Terms & Conditions and Pricing, we will open a new screen so you can verify your email address using the code we sent you. Watch the demo →
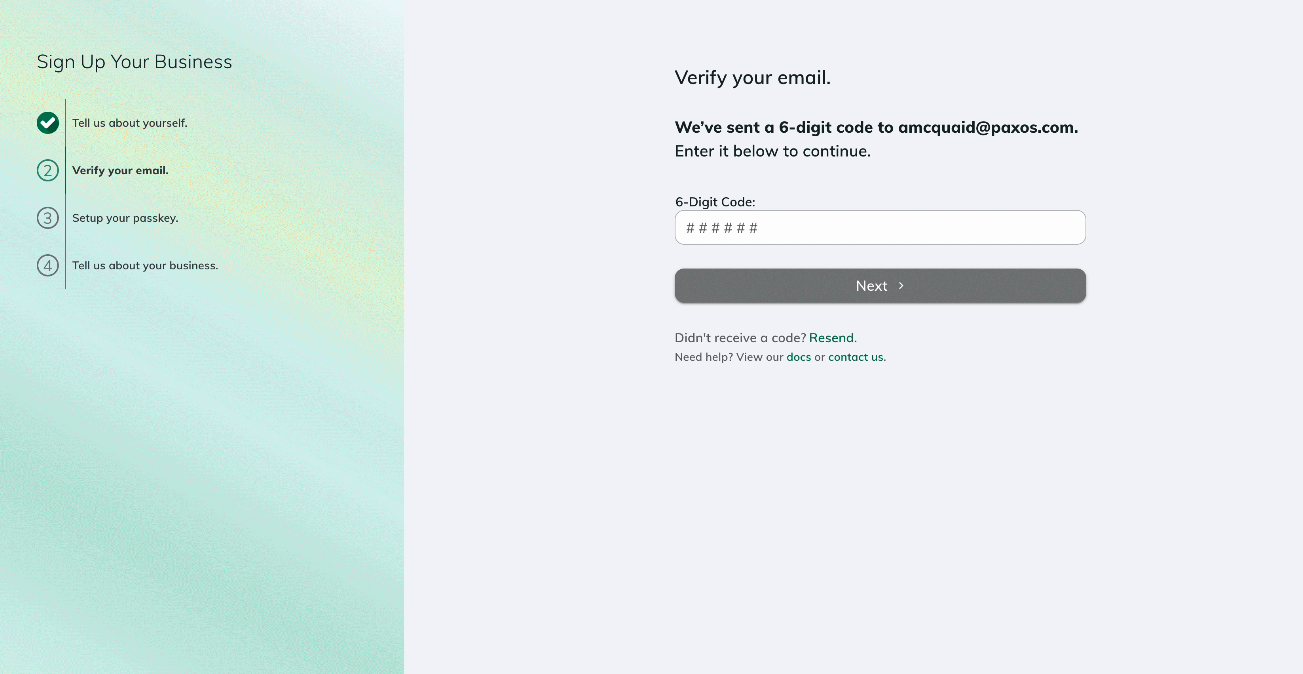
➍ Create a Passkey and Sign In to the Dashboard
Follow the steps to create a passkey. We will automatically prompt you to sign in to the Dashboard once you save the passkey. Watch the demo →
Start by contacting your IT organization. Your company may already have policies for using passkeys and can provide support when creating and using a passkey.
We recommend saving and using passkeys with iCloud Keychain, Windows Hello, Google Account, 1Password, Proton Pass or other third-party password manager that enables passkey synchronization across devices.
Learn more about using passkeys on the Paxos platform or try the passkey demo on https://passkey.org.
Next Steps
Once migrated, start exploring the Dashboard's new features and improved workflows. The Dashboard comes with more self-serviceability, new stablecoin orchestration mint, convert and redeem flows, the ability to collaborate with more users from your organization, and enterprise-grade access controls.